


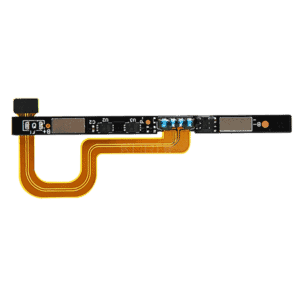


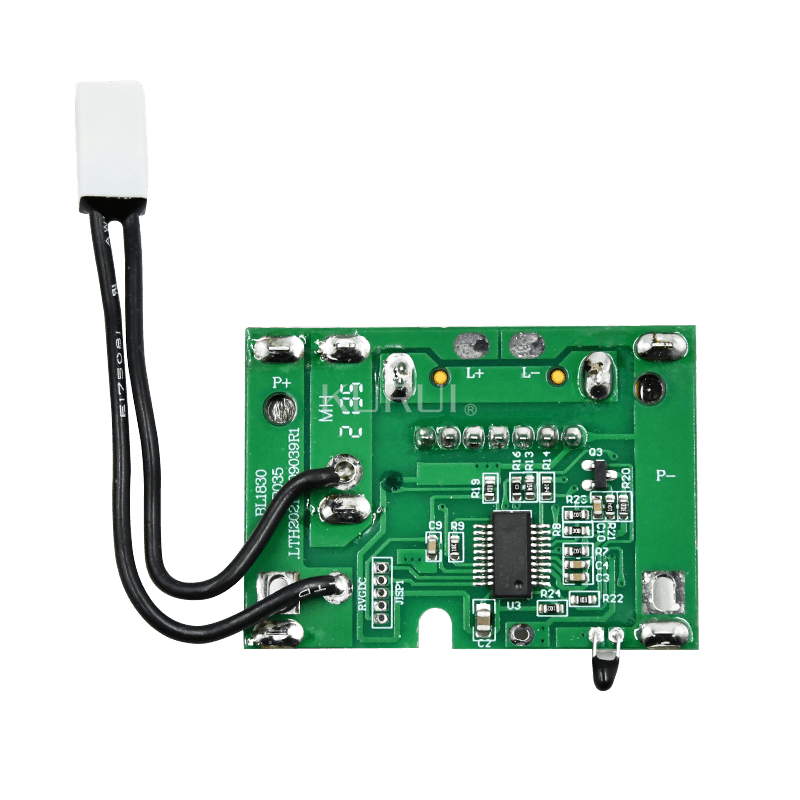


We’re focusing on designing and producing battery protection circuit board for all kinds of batteries. This is a board for iphone XR battery. If you’re a mobile battery fan, you must have noticed such small boards in mobile phone batteries. These are protection boards, designed to prevent a deep discharge from overcharging, short circuits, and overcurrent.
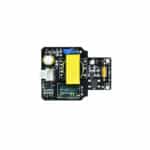
Before we go to the next step, the left item is a battery cell for iPhone XR and the the right one is protection board for iPhone XR battery. These two should work together to become a finished battery.
What shall we do before welding protection board?
This is the production line full of automatic machines to attached the protection board onto the battery cell. Batteries are protected from over voltage, over current, and over discharge by the battery management system. It is the safety system that protects the batteries. Over here, there is a robot arm lifting batteries off a stack, and then unloading them onto a conveyor belt. After that, we begin trimming the battery tabs. The battery tabs are flattened and cut. All parts of the automatic machine are pretty standard. It ensures the accuracy of every step.
After trimming, we’re heading to the second machine which will put insulator taps onto the board. The process is pretty similar to the first one.
The third step is to weld the board onto the battery cell. Our staff put the board onto the small jig. We’re using a fiber laser to weld the BMS board onto the battery cell.
Automated machine weld board onto cell
Since the BMS is attached, the next step would be to bend it into the right orientation. And the UV machine will test the board. If everything goes all well, we will move the taps and then transfer the battery to next step.
Our staff will test the data of every board to make sure they will work properly. Her work here involves adding all the necessary bends on the board in order to make it fit into the iPhone in the correct orientation. Then we will put the use insulation materials to protect it again. Finally we will use taps to seal the battery. We got finished batteries here.
However, the batteries cannot go off the line without normal inspection. We will check the battery data.
How to assemble battery into iPhone XR mobile?
In next section, we will show you the brief steps of how to assemble the battery into a iPhone XR mobile. Before we replace the battery, we shall test data of the new battery. If everything is ok with the new battery, we continue.
Put the new battery in its position and then press the battery into connector of the phone motherboard.
Turn on the phone to test the screen. If the screen is working, connect phone to power and see whether it can be charged.
Seems everything is great. Turn off the phone, tighten the screws between the battery and motherboard. Close the screen and tighten the bottom screws.
Turn on the phone and charge it.
